Our woodworking challenge for November was to work on a small scale. I decided this would be the perfect time for a refinishing project that I have had on my list.
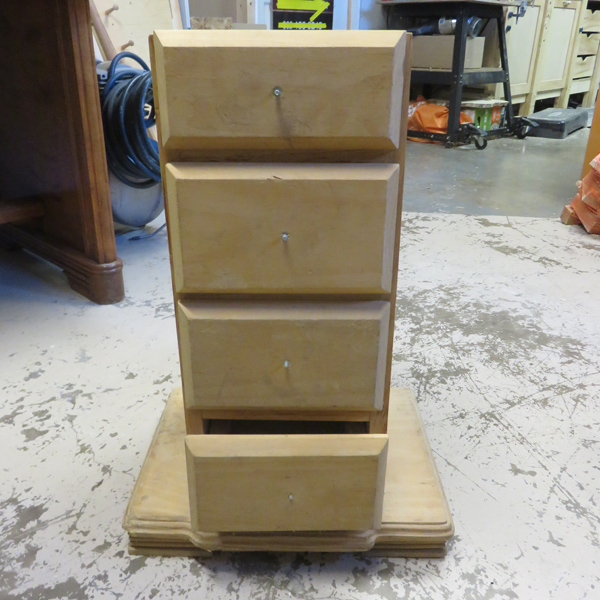
My find after cleaning and basic repairs to drawer fronts.
The Original Find
This was one of my ‘street finds’ that someone had thrown in the garbage. When I found it, there was no top and the drawers were stacked beside the carcass. It had been exposed to some rain so there was slight water damage. The carcass was strong and needed only minor repairs. There were four small drawers that were in generally good shape but required some touch up and cleaning. Two of the drawer fronts had to be repaired or replaced.
One drawer was lined with felt and had clearly been home to a mouse family at some point. Not too appealing but the felt could be fairly easily removed and the drawer completely cleaned.
The Refinishing Process
The first step was to remove the extra large base. My plan was to make the finish project look more like a small scale chest of drawers and the base didn’t seem to fit that design style. I wanted to see if I needed to replace the bottom and thought about perhaps making small feet. Once I took off the bottom, I decided that the piece was sturdy enough and did not require a new smaller bottom added. I did not add feet but might still do that. If I do go that way, I will first add a plywood base for stability and weight distribution.
It turned out that the base was solid at about 1 1/4 inches thick with a decorative edging. I would like to know what was on the top as it would likely have been solid as well. I wonder if this might have been part of a larger piece. I chose to trim down the bottom and make use of the decorative edging as a top. By trimming, the decorative edge on the side was lost. Fortunately, we had a router bit that duplicated the edge quite closely. The other alternative would have been a straight side with a rounded edge.
-
- The side edge with new profile, cut with ogee router bit
-
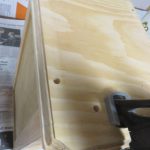
- New top clamped to align existing screw holes
-
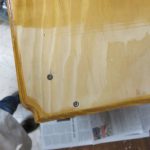
- View from the top with screws set.
The bottom had been screwed in place so there were existing screw holes that fit the top dimensions. Typically, the top would be screwed in from the bottom so the holes would not show on the top but since I didn’t want to take the carcass apart unnecessarily, I decided to live with the holes and cover them with plugs later. This also results in the option of removing the top later.
With all the touch-ups and repairs completed, I sanded everything through several phases down to 400 grit sand paper. I chose to finish with shellac because Stephen had just picked some up for another project. I haven’t worked with shellac have been wanting to try it. I applied three coats using a foam brush and sanding with fine grit between coats.
-
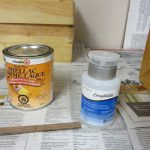
- Shellac – and denatured alcohol for cleaning or spills.
-
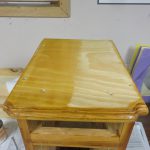
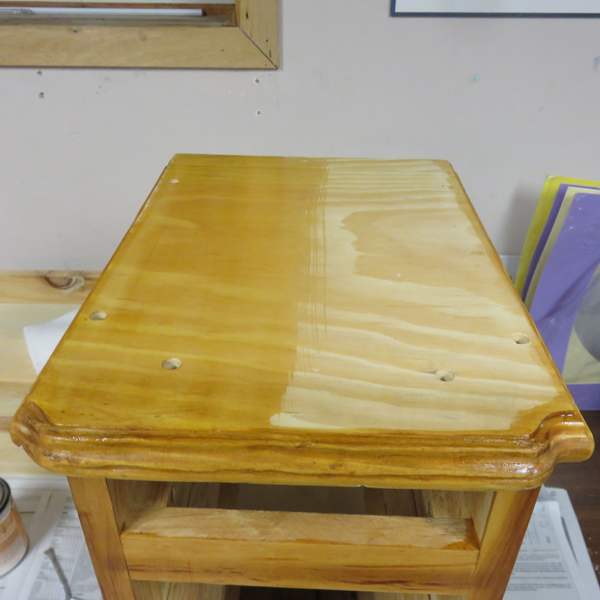
- The top with the first coat and the original wood. This shellac has an amber colour.
-
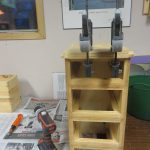
- Pieces drying between coats.

Top drawer after felt removed and top sanded.
While the outside pieces were drying, I removed the old felt and cleaned the drawer then made sure top and bottom were level. The belt sander came in handing for smoothing and removing last bits of the felt from the top surface.
The Results
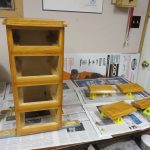
Here is my finished scale model set of drawers. Actually, it is not technically an official scale of a larger project – at least not a specific one that I had in mind – but at 21″ h x 12 “d x 9″w, it is a small version of a full size dresser, perfect for jewellery, art supplies or other small treasures. The top currently has plugs that are slightly proud (not flush). Stephen calls that a ‘feature’ but I have not decided whether to leave them like that or cut them flat. Either way, I might put a piece of glass on top, which could be used to hold favourite images.
-
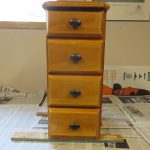
- Front view, with new handles
-
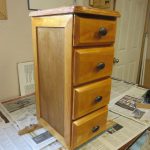
- Side view. You can sort of see plugs on the top.
-
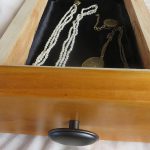
- New black soft lining in the top drawer.
Recent Comments