This post is written by Stephen Parsons.
One of our newer initiatives is a series of cutting boards which has turned out to be more inspiring and fun than I had imagined. I introduced one of them in an earlier post, “Something Whimsical“. We are about to construct a number of boards – with an intent to have a supply for the Spring markets and the anticipation of BBQ season. In addition to personal kitchen use, cutting boards are enjoying a growing market as seasonal and birthday gifts, recognition awards, and commemorative gifts for weddings and other events (with event-specific engraving being a popular customization).
Simple and Beautiful
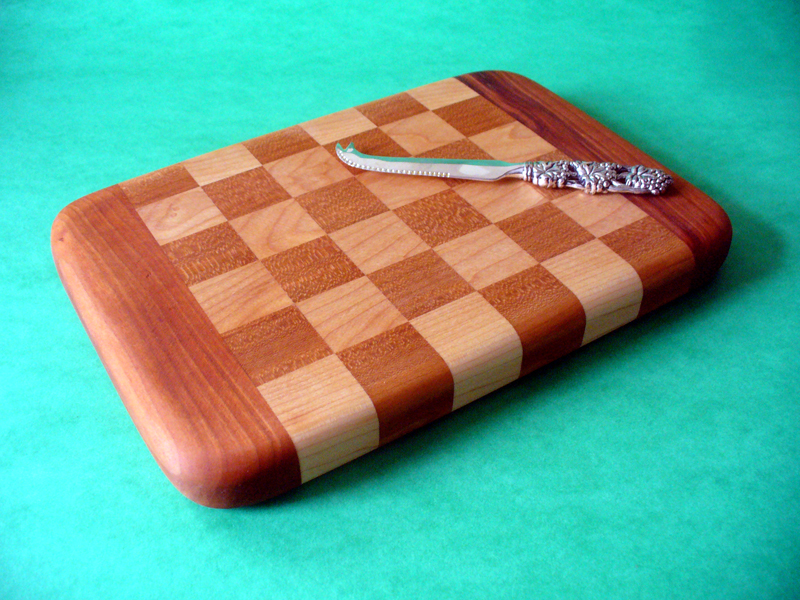
Credit: Ravenview Art & Craft
Pretty much every woodworker worth his weight in sawdust will make a cutting board at some point or another – in part because it is a relatively simple project that returns a thing of beauty with no moving parts, no special joinery, and few or no complex features. With the exception, perhaps, of companies who focus on cutting boards as a key product line, most woodshop artisans find building cutting boards are a good way to use up wood scraps and off-cuts and so, in that respect, they are also relatively inexpensive to produce.
Planning a supply of cutting boards for upcoming shows presents a number of issues to consider – such as, whether to focus on a particular single design or theme, wood-cutting approaches such as end-grain versus face grain, the number of board sizes to present, wood varieties to be used, features like handles, drip channels, and through-cut holes (for hanging or carrying) and other product decoration (including engraving).
The construction of cutting boards requires very few tools and materials. A supply of off-cuts or scrap pieces of wood, a good saw and fence, lots of clamps, a jointer, planer and/or hand plane and sander are the essential pieces of equipment. You also need good quality waterproof glues and food-safe finishes. The steps for making a basic board include: designing (arrangement) of the boards; cutting the wood to length and width; flattening surfaces to be glued together; gluing and clamping; adding special features; and then flattening and sanding the final surfaces before applying a finish. Of course the same two elements that I hear are critical to good bread-making – patience and a warm kitchen – can be applied to the workshop for this project.
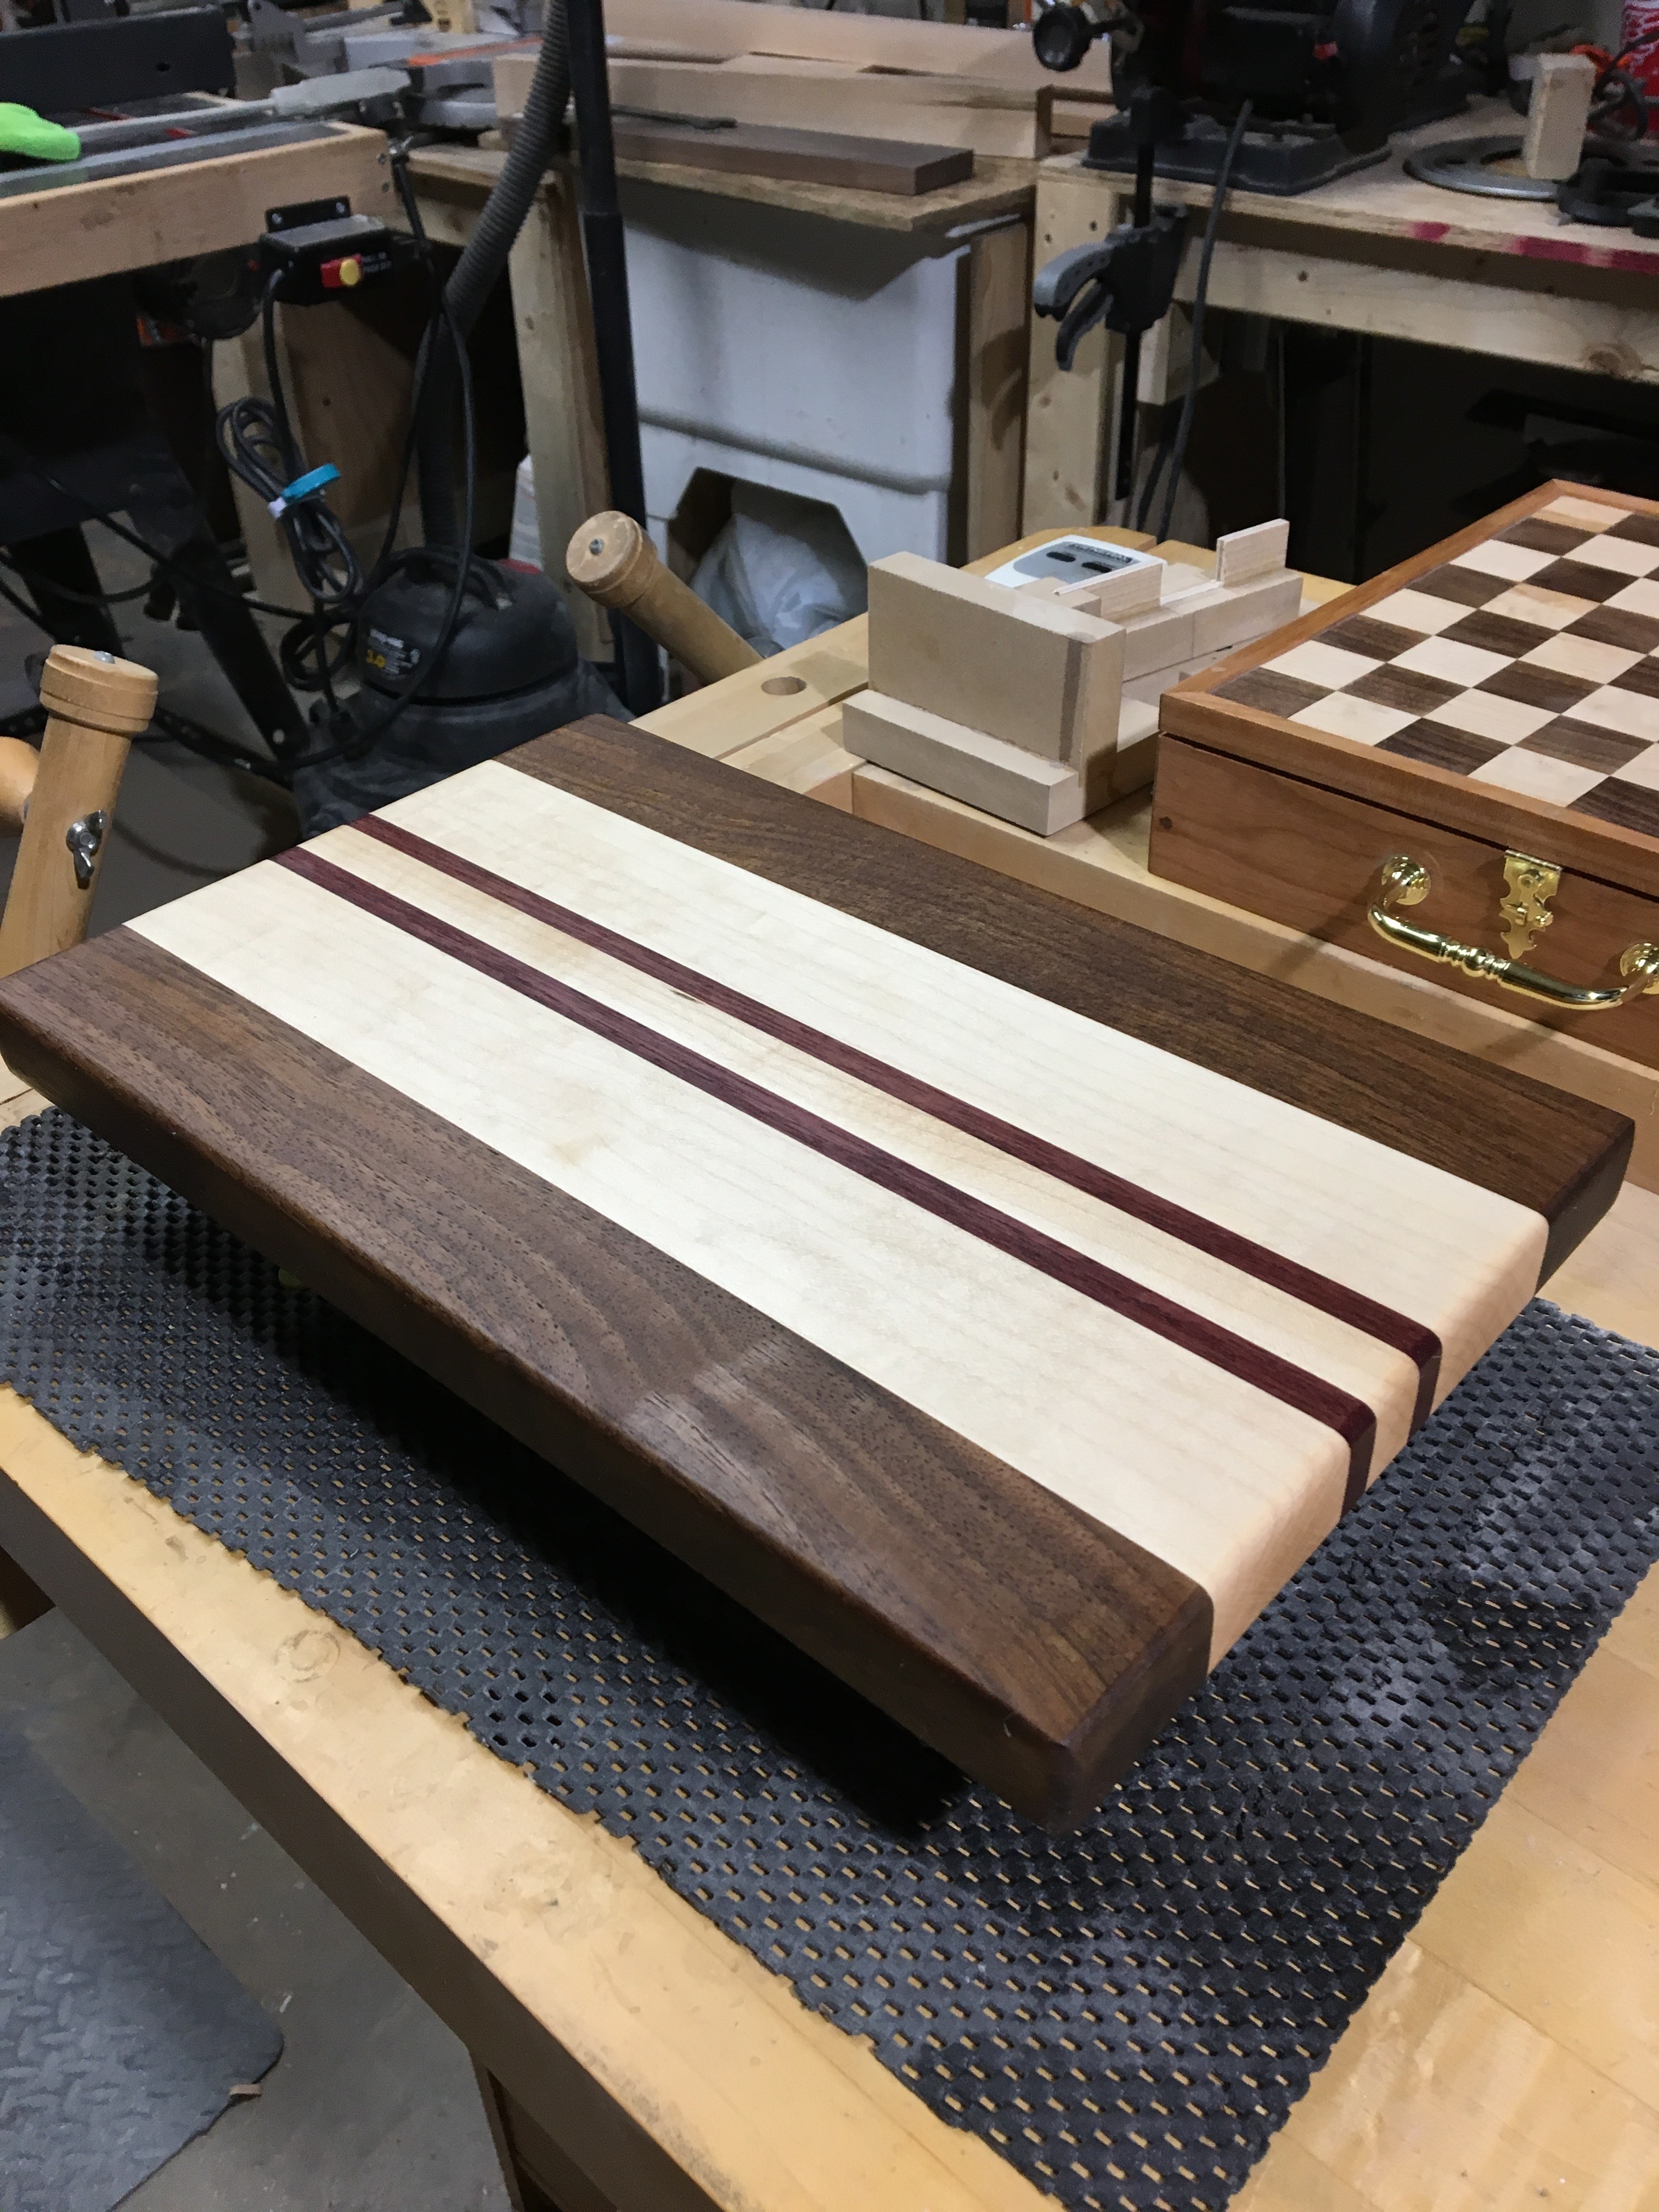
Maple, walnut and purpleheart cutting board
What makes a great cutting board? Obviously an appealing arrangement of the woods is one of the first things to catch the eye. Flat surfaces with tight grain (to reduce trapping of bacteria) and a good food-safe finish that adds lustre (and often a pleasing scent) to the wood indicate a well-built product. Professional quality construction methods including proper flattening of boards, appropriate glue types with enough volume to form strong bonds, and sufficient clamping pressure are important to ensure clean, tight seams and a board that lasts through normal use without falling apart. The addition of small features like built-in handles or functional and decorative materials can also add value if that is something you are looking for.
Care of your Cutting Board
Our friends at Ravenview Art and Craft have written a great blog post on care for your cutting board. As the article points out, high quality cutting boards should never be submerged in water, or put in the dishwasher, the oven or the microwave. Wiping with a clean, damp cloth immediately after use, using vinegar or lemon for disinfection, and occasional re-coating with food safe oil finishes (like tung oil or linseed oil) will keep your cutting board safe and sound for years to come.
A favourite heirloom board can be renewed with a good sanding and refinishing. If you don’t have professional equipment and materials, consider contracting this out to a quality woodworker in your area.
Recent Comments