Late last year, I finally broke down and bought a new sewing machine. After much research and deliberation, I decided to bite the bullet and invest in a fairly high end machine. After some research and debate, I ended up buying an embroidery machine. I have enjoyed making some embroidery projects and gifts and love the detail in some of the designs. However, I really haven’t been making full use of the features and changing that is one of my creative goals for 2015.
Last month, my brother got married and I decided it would be a perfect time to play with embroidery features to make some monogrammed items for our gift basket. I selected a monogram pattern from Embroidery Library, my favourite source of machine embroidery patterns. If you do machine embroidery, check out this site for a wonderful variety of styles and designs at reasonable prices. There are new designs every week, weekly sale items, monthly free designs and lots of projects and tip ideas. They have a wide range of monogram designs and alphabets.
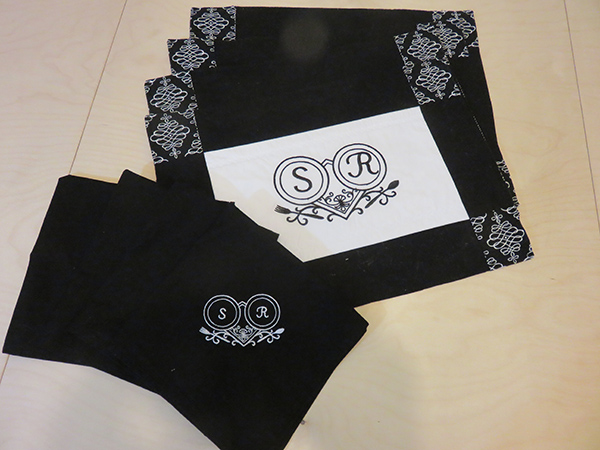
I chose Place Setting for Two in two different sizes and selected appropriate monograms for each size. To make it easier, monogrammed patterns indicate the acceptable size monograms for that design. I had to find one that had sizes for both the patterns so I could make a set with placemats and napkins.
I don’t have digitizing software so I usually cut out a cardboard template to use for placement. I measure the size of the pattern, cut out templates for each object, fold in half both horizontally and vertically, and then mark the middle point and mid-point on on 4 sides. This was the first time that I have combined multiple images and I was quite happy with the results.
A few tips:
- Definitely identify the mid-point of each element. I have a pointer with my machine that helps get it started in just the right place but, just in case, I write down the position so I can get it back to the exact right place if I need to start again. It seems that it is easier to go to the middle and advance to the point where you need to restart.
- Avoid iron-on stabilizer for an item like a napkin where the back is not hidden. If you do use a cutaway or tearaway you might want to avoid an iron-on version. I used an iron on cutaway and cut closely with my appliqué scissors. It worked perfectly – on 3 of the 4 I made for the set. On the last one, I had a section that would not cutaway cleanly but left lot of sticky remainder and was really a pain to clear away. I washed and dried the set and hoped that would filter away some of the fluff. No go. Tried duct tape (which works great for cat hair and wool balls). In the end had to scrape and remove every piece with tweezers. Come to think of it, I would have probably be better to have simply made another, which is what I would do another time. Anyway, learn from my mistake and use a temporary spray. Or maybe consider a wash-away version. I have to look into this more.
- Be sure to use the memory of your machine to place multiple versions of the same design. If that is not an option, note the position of the first so you can replicate.
Do you have other tips to share about machine embroidery monograms? I would love to hear them so please share in the comments.
Recent Comments