The 2×4 Challenge
This week, I have been finishing a 2×4 Challenge through Taylor Timber Mart in Musquodobit Harbour. If you are a woodworker, you might be familiar with the 2×4 challenge idea, which is popular with guilds and online woodworking groups. The challenge is to create a unique project from a single 2×4, usually construction-grade wood. This is not the best wood to work with but its availability and low cost making this contest great for woodworkers of all levels. Rules can vary. For this contest, rules are simple– you pick up a free 8’ 2×4 and create anything you like as long as it is comprised of 90% wood from the supplied 2×4 and no more than 10% of any other elements (adhesive, fasteners, decorative features…), determined by weight.
Both Stephen and I participated in the inaugural event in the summer of 2016 and had a bit of fun with it. We didn’t win anything but we did both make the finals. We decided to get involved again this year and picked up our free wood in late June.
I made a little project plan for something I initially thought would be quite a simple process. As it turned out it had a few interesting technology aspects.
Making Plans – and Changing Them
From the beginning of the project, our planning highlighted some differences in the way that we work. I made a sketch in my notebook. As you can see by this image, sketching is not really part of my skill set, but it served the purposed for a rough plan. Stephen and I compared notes on our projects – and the next morning when I came down to the workshop, I found that he had generated a plan for me in Sketchup, complete with a clear illustration and a detailed cut list.
-
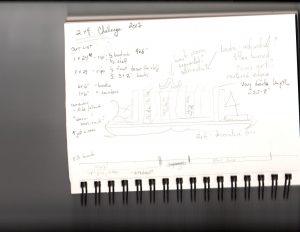
- My primitive sketch
-
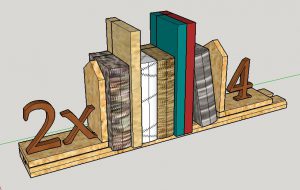
- The illustration from Stephen’s sketch up plan from my original drawing
Although I would not have thought to go the SketchUp route, it proved very helpful in giving a better sense of how the project might look and helping to refine the cut list and material use. It also makes it easier to make the project again with other woods or to sell the plan in the future. Stephen has written about Sketchup in other posts including this one: SketchUp from Concept to Cut List.
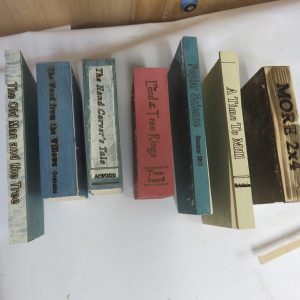
The first thing that the SketchUp plan helped me realize was that I should make the books wider than the shelf, which meant that I couldn’t just cut them to length and then paint/stain them, which was my original plan. Instead, I decided to reduce the number of books and laminate two pieces together to give a wider book that would look more realistic for the design. The original plan would have worked but not been as effective. Most likely, I would have gotten further with the plan and before realizing that the proportions weren’t right and that would have resulted in slower work or even time undoing and redoing effort to correct an earlier process.
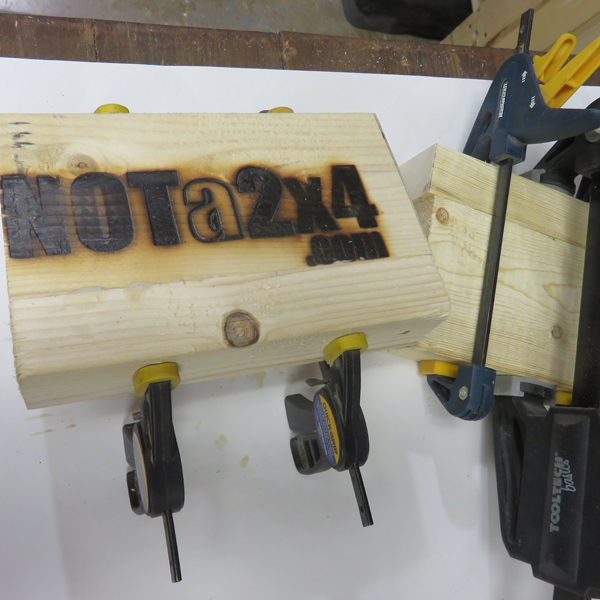
Laminating books to make them wider. This one used the stamp that was on the wood received from Timber Mart
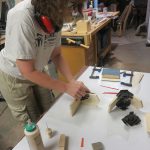
I planned to burn titles into the book but Stephen gave me a better idea – and I had my first chance to play with our relatively new laser. To add the titles, I coloured my laminated books with stain or milk paint then used the bandsaw to rip a 3/16” spine off each book. I engraved the titles with the laser, then laminated the books back together. I was very happy with the results and the actual burning was much faster than it would have been by hand – not to mention much neater and more precise. It did take time to come up with the titles and play with fonts and format in Photoshop but the actual printing was relatively fast (from about 2 minutes to about 15 minutes depending on the style and darkness).
-
- Title being burned on the spine by laser
-
- All spines completed and ready to be reattached to the books
-
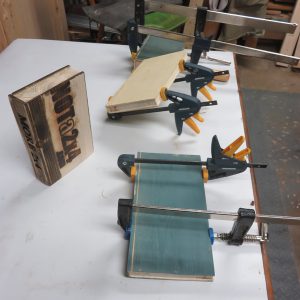
- Glue up of the books with printed spines
Other Tools
Regular visitors to our blog will know that Stephen is a big believer in jigs and I had a chance to use a couple of them in this project, including my favourite, the box joint jig , which was put to good use in making book ends.
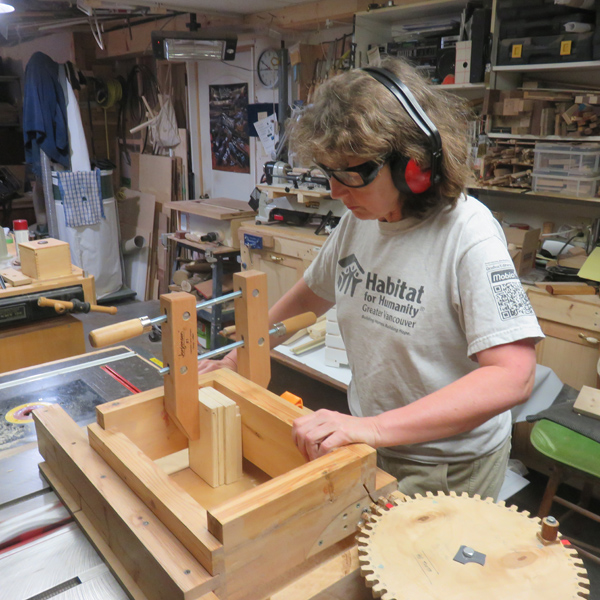
Working with Stephen’s box joint jig, complete with wooden gears
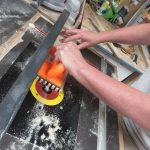
The router came into play as well. It was used for doing a decorative edge on the shelf, creating a channel to look like pages in the books, doing a channel and trim for sliding dovetails on the book ends, and doing flush-cut trim on the joints.
-
- Cutting channel in book ends
-
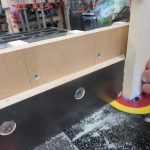
- Router with Stephen’s custom fence.
-
- Gluing and clamping bookends
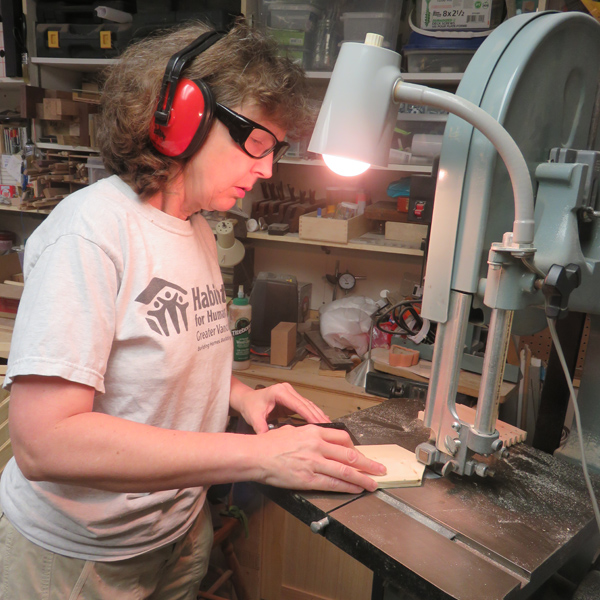
Cutting details on the scroll saw.
The last bit of technology for the project was the scroll saw, which caused a few unexpected quirks. I used it to cut out letters for the bookends. I enjoy doing the detail work with the scroll saw in part because it feels much like doing free motion quilting on the sewing machine, which I tend to do more often these days. However, it is this similarity that also led to a couple of ….challenges. Stephen has attached a foot pedal control to the scroll saw. It is handy to use but I keep forgetting that a) it needs a steady pressure (that I am unable to maintain with my heel on the floor, which tends to be my default position because it is what I do when sewing) and b) it is a toggle with only on and off (I have a tendency to try and control the speed). As a result, it always takes me a bit to get the rhythm going smoothly and I always have starts and stops and jerkiness when I start. Stephen was in the shop working on his project and, before I got into a groove, he actually suspected a loose connection. Once I got a feel (again), it was smooth sailing. I hardly even had to do any sanding after the cuts. Things might have been better with the foot pedal if I could take off my work boots and work in my bare feet like I do in my sewing room.
Final Project
In the end, my small, seemingly simple project had quite a few techniques and a range of technology support. Hand tools and finishing are still my favourite parts but there are certainly times when the tech of a modern workshop allow different approaches and new way to apply creativity.
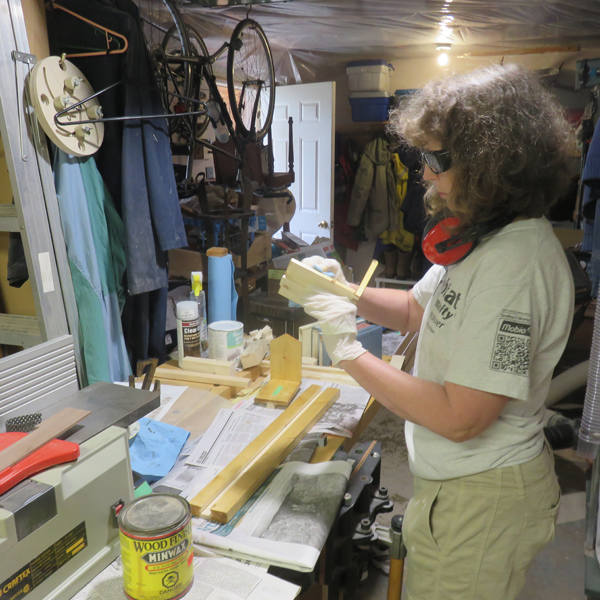
Doing final touches with stain and paint. Almost there!
Here is a picture of my project – along with what remains of my 2×4.
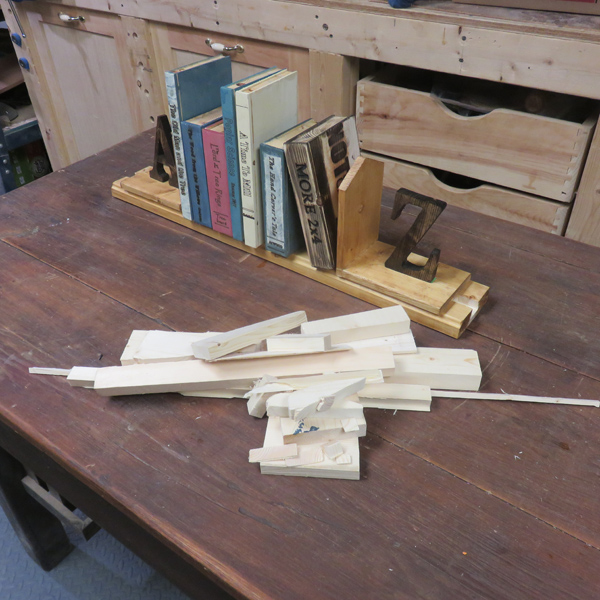
My sliding dovetail bookshelf and remainders of the 2×4 – a few changes from the original plan.
Have you done a 2×4 project? We’d love to hear about it and see your pictures.
Recent Comments