This post was written by Mary Elizabeth O’Toole
Increasingly my quilting preference is realistic art quilts from photos. Photography has been a hobby since I bought my first SLR camera in high school. We don’t need to discuss how many years ago that was. I have progressed from that first camera, a well-loved and well used K-100 Pentax work horse, through a series of digital cameras from DSLR to pocket point-and-shoots and now a smart-phone, which is always at the ready, if not my preferred tool. For many years, I have given myself photo ‘assignments’ and taken pictures of a subjects from a variety of angles and perspectives, often zooming out for context and then close in to a single element of a scene or object. As a result, I have a large collection of print and digital photos.
When I first discovered how to use some of those images in quilting patterns, it was a major turning point for me. It was a way to combine two passions and find a new way of expression. Though relatively new to the art of creating fabric images, it is a growing passion; I am loving the the journey of learning how to better replicate an image.
To use a photo to create an art quilt, you have to turn the image you have into the image that you want for your pattern. That process starts with some very simple modifications that you can make with any photo editing tool.
Choosing photo editing software
Adobe Photoshop is probably the best known and most popular photo editor for photographers and designers. It is comprehensive and flexible plus allows extensive creative design options. However, it is expensive and now only available by subscription, has a steep learning curve, and offers much more than even most Photoshop experts need so it is not for everyone. That is why Adobe also offers a more limited, less expensive program called Photoshop Elements, which is still very robust but more user friendly than Photoshop with optional features that walk users through guided steps for processes to retouch or manipulate photos.
There are a variety of other programs or apps that will allow you to make basic edits and organize your images. You can get a trial period for paid programs or use free tools. It is helpful to know why and how you want to manipulate your photos so you can compare and find your needs.
My preference Photoshop. In fact, I use a combination of Adobe Creative Cloud tools. There is just so much that you can do and so many resources for learning new tricks and how to apply them. I have begun to tap the functionality and use only a very small fraction of the tools. That is part of the fun. I especially like use of layers to make non-destructive changes that can be updated even after the image is saved. More on Photoshop features in future posts.
Basic Editing
It is not always possible to get the desired composition when shooting an image. Perhaps the subject is too far away or there are obstructions. Maybe the subject or the photographer are in motion. Whatever the reason, it is often necessary to do some simple editing to begin preparing an image. These three steps are a good place to start:
Crop
Cropping refers to the removal of sections of an image. 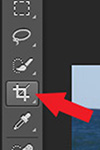 It is used to improve composition or change the format.
The crop icon is similar in most programs so it is easy to recognise. In Photoshop, you can click on the icon or select with the keyboard shortcut C.
Placement in the frame and the shape of the image can change the story or the emotional impact.
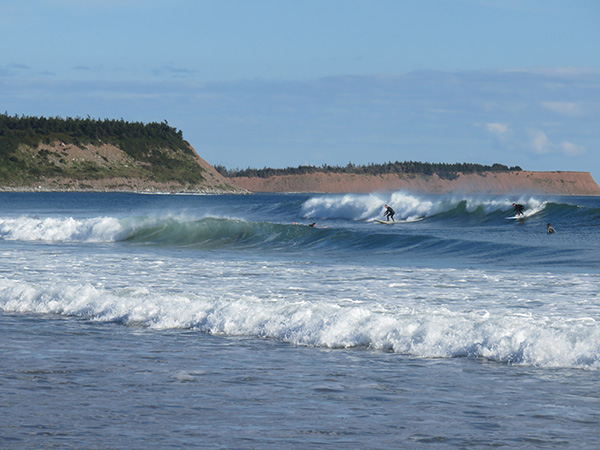
Original image
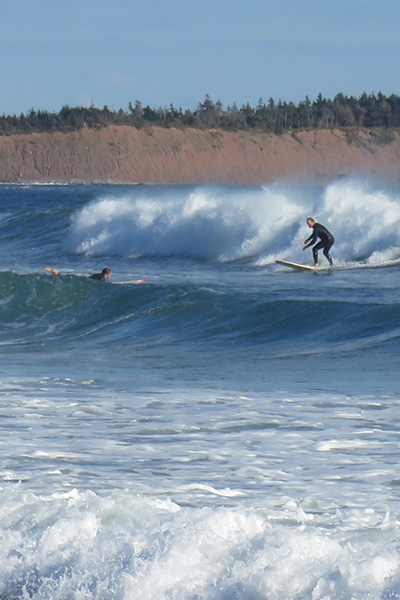
Portrait (vertical) crop example
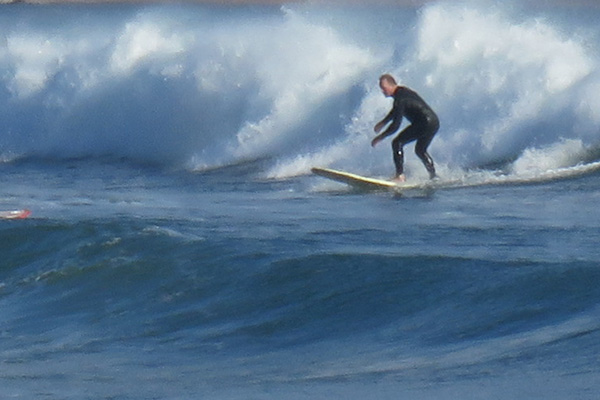
Landscape (horizontal) crop example

Panoramic crop sample
Straighten
Horizontal lines (ex. the horizon) or vertical lines (ex. church steeples) can be distracting or unsettling if they are not in alignment with the frame of the image. Straighten the image with the crop tool active by clicking on a corner of the image and rotating until your desired line aligns with the grid.

Sharpen
Basic changes in sharpness and contrast can be managed with filters. Although more fine tuning is possible will more time and experimentation, often that is unnecessary. Keep in mind that it is not necessary to be perfectly clear or precise to create a fabric pattern. However, sharp lines and good contrast will be helpful for the copy that will guide colour and placement.
More to come
In future posts, I will talk more about steps for preparing a pattern for a realistic image as well as strategies for turning photos into abstract or non-representational patterns. Enjoy playing with editing and turning photos into fabric art.
Warning: Both image editing and art quilting are highly addictive.
Recent Comments