Today’s post is written by Stephen Parsons
In an earlier post we mentioned that we had bought a laser engraver from Gearbest – our first – to supplement some of the work in our shop, notably things like small engraving tasks and marking cuts for the band saw and scroll saw. Now that we have it together, I thought it might be a good time to bring you up to speed on our success (and challenges) to date.
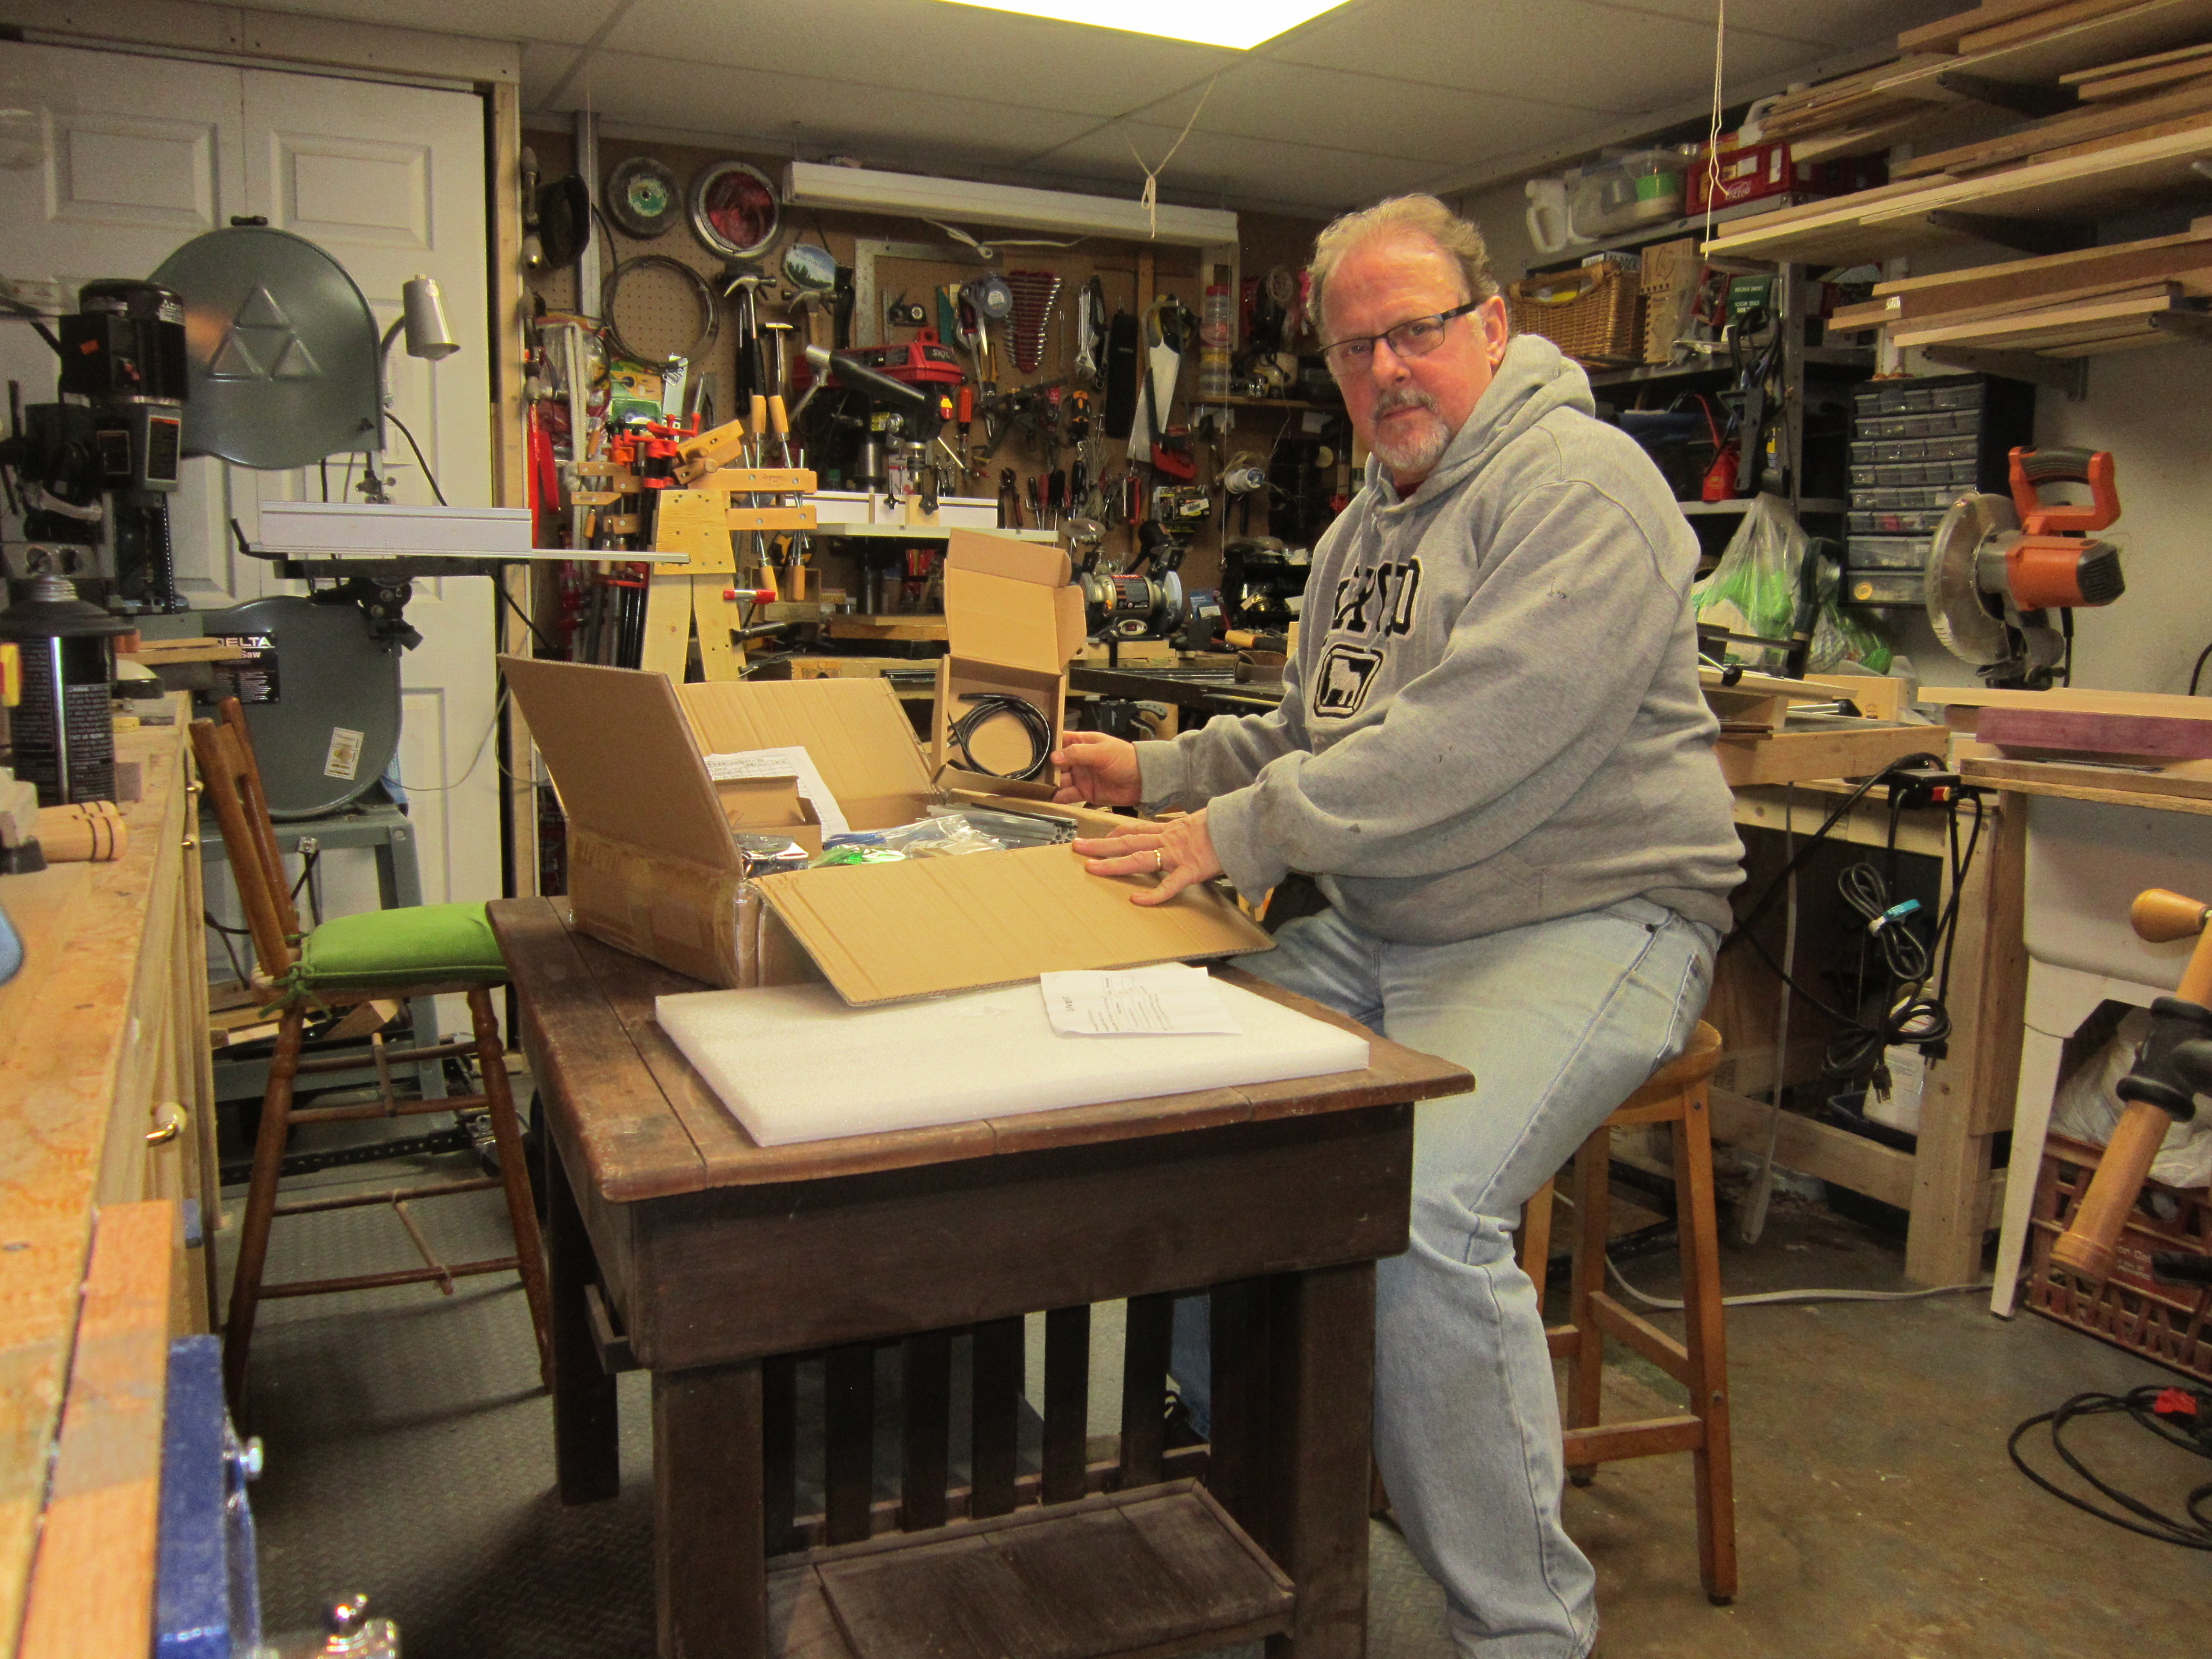
The laser arrives
Shipping: The unit shipped from China on a WednesdayI believe and was in Nova Scotia the following Monday , although I did not pay for any kind of rush delivery. I also believe it cost me something like $11 CDN to have it shipped all the way from China. Can’t understand why it would cost me $75 to ship the same package from Nova Scotia to a neighboring province with a ten-day delivery delay- but it does! The package arrived in perfect condition, no sign of any wear and tear and very well packed in styrofoam and cardboard to protect all the contents.
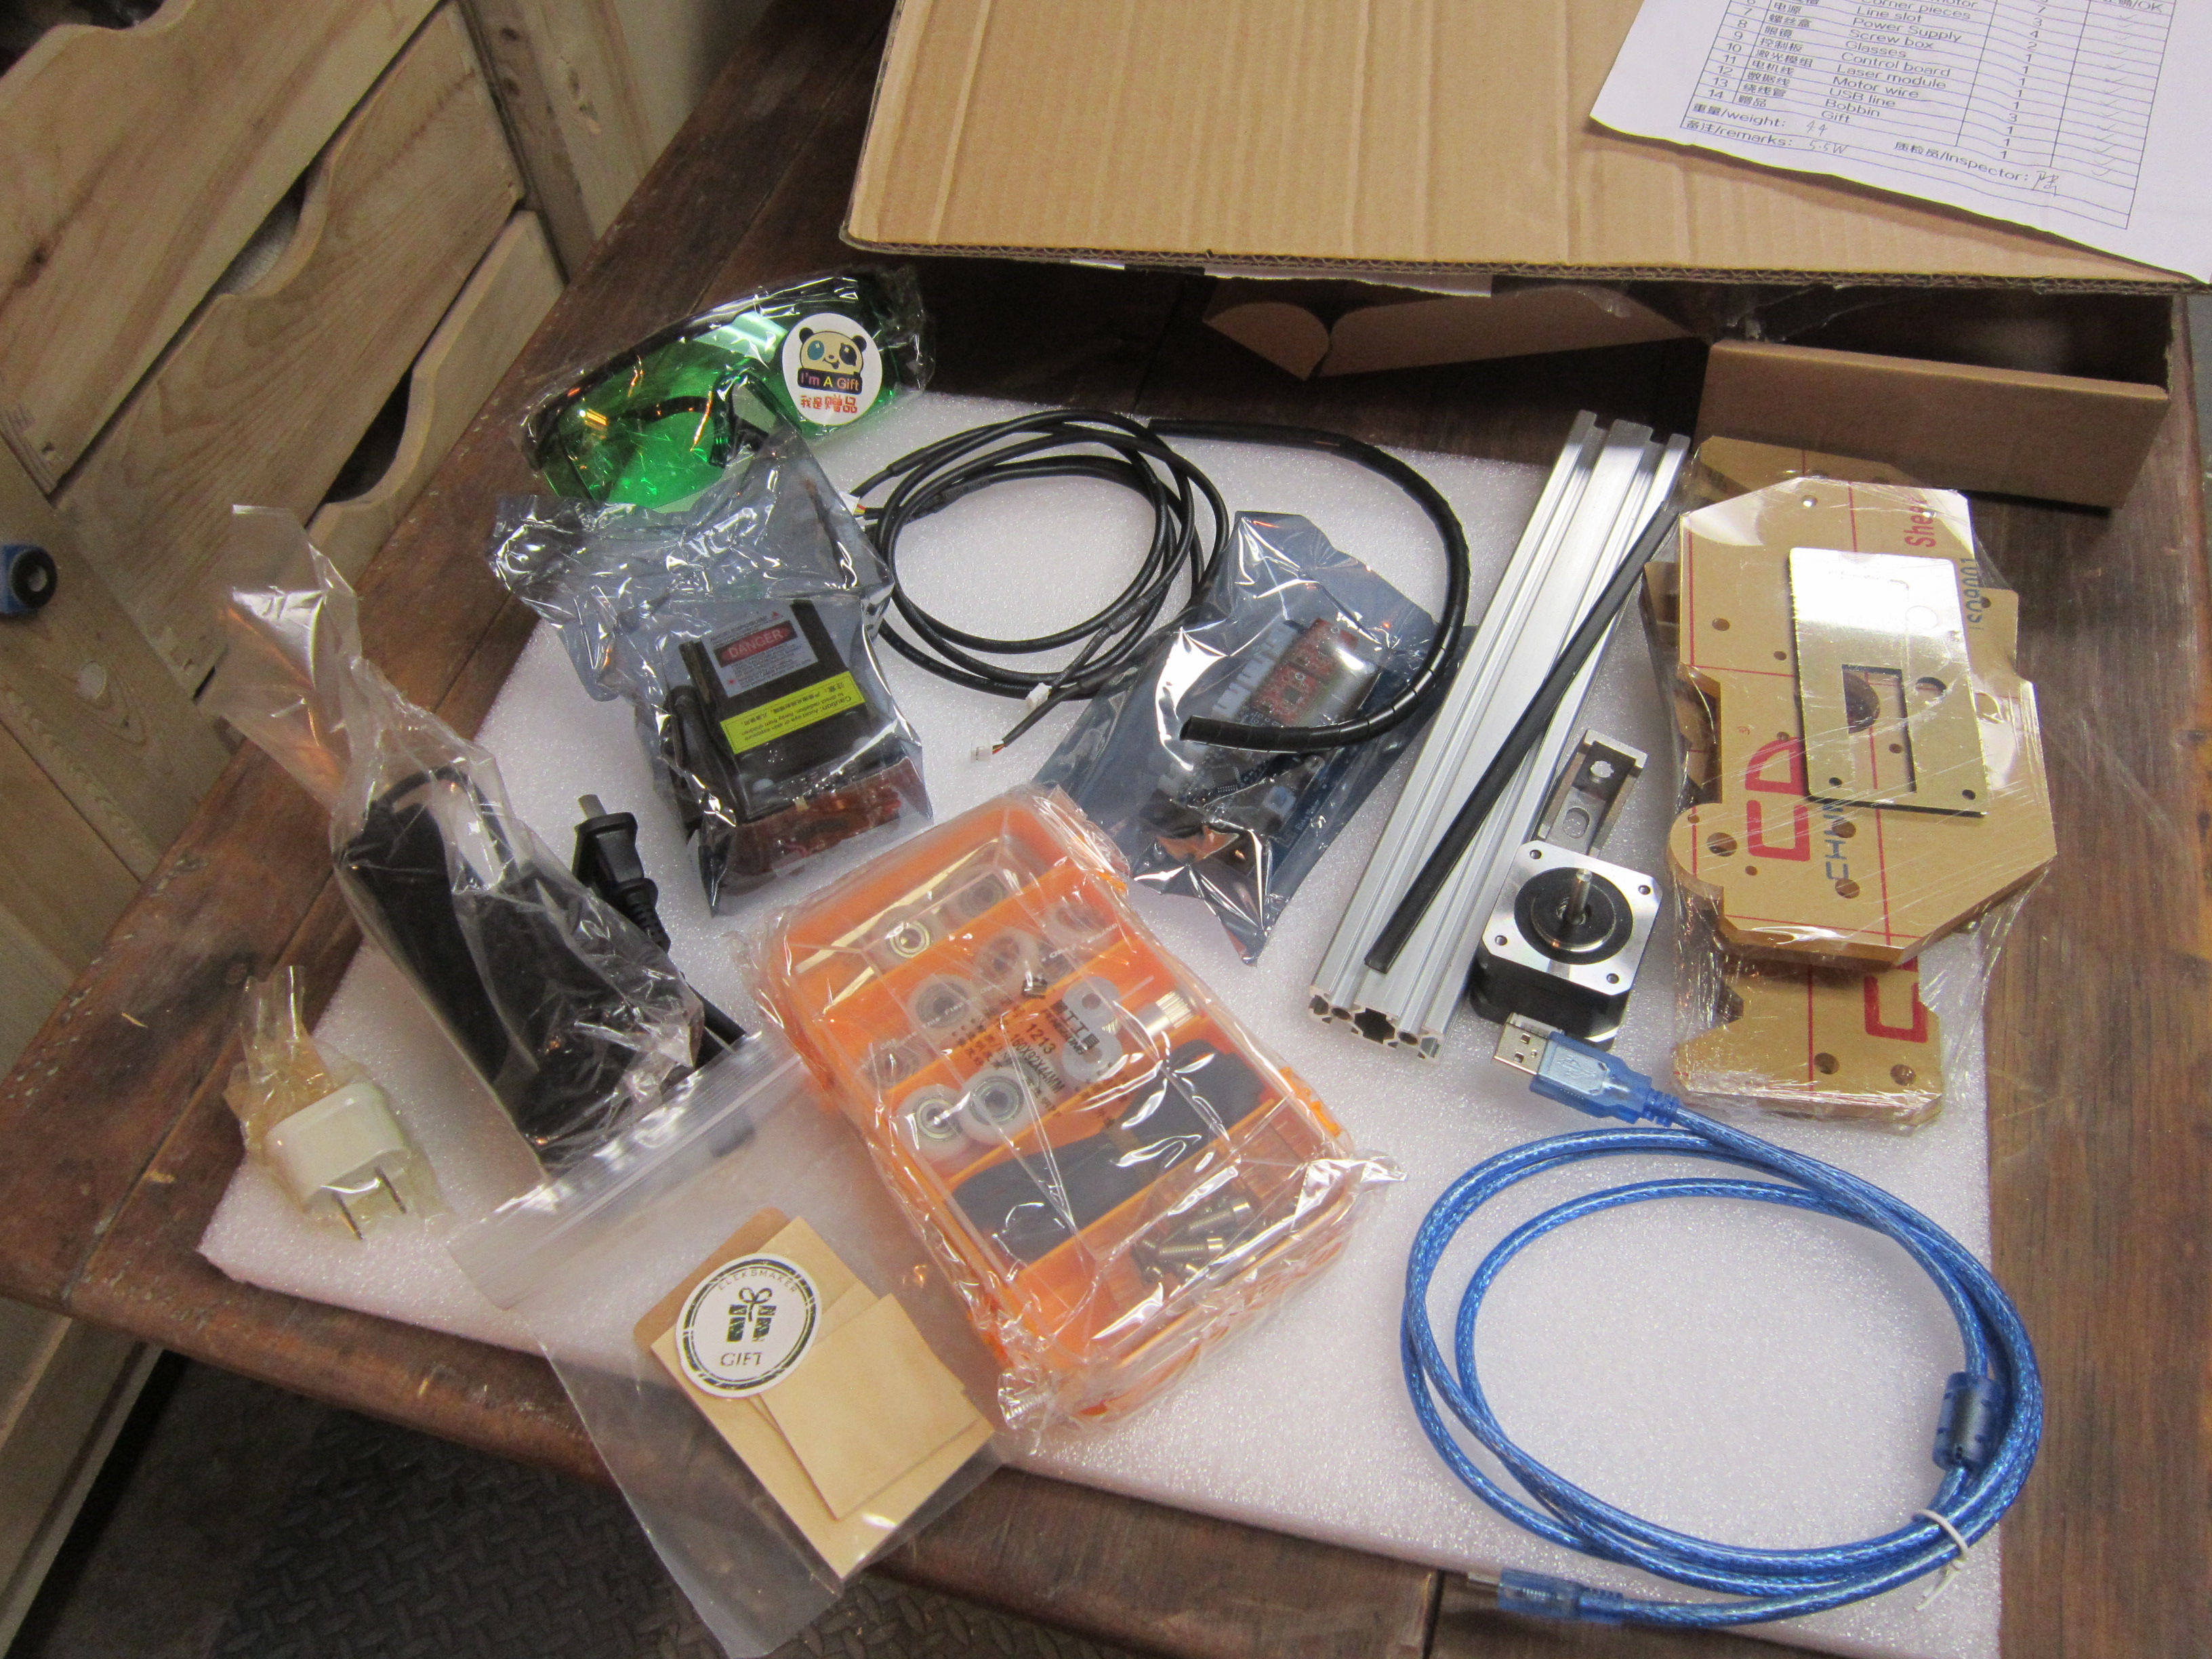
Everything but the kitchen sink – and instructions
There was a packing list and so my first piece of business was to ensure all that I was expecting had arrived…it did. What was not included (and I understand does not ship with any of them) is a set of assembly instructions, even though this is a from-the-ground-up build. But all parts were accounted for although the quality of some really fundamental parts – like the power supply for example – were questionable.
The Build: There are a number of assembly videos on the GearBest site and I have to say that perhaps we have been spoiled by having such great instructional videos on so many channels here in North America, I was horribly disappointed at the quality of videos that were provided. The result was that after following a build very closely from what appeared to be the best of the featured videos, I ended up tearing most of it down again and starting almost from scratch. I sure got to know the parts really well.
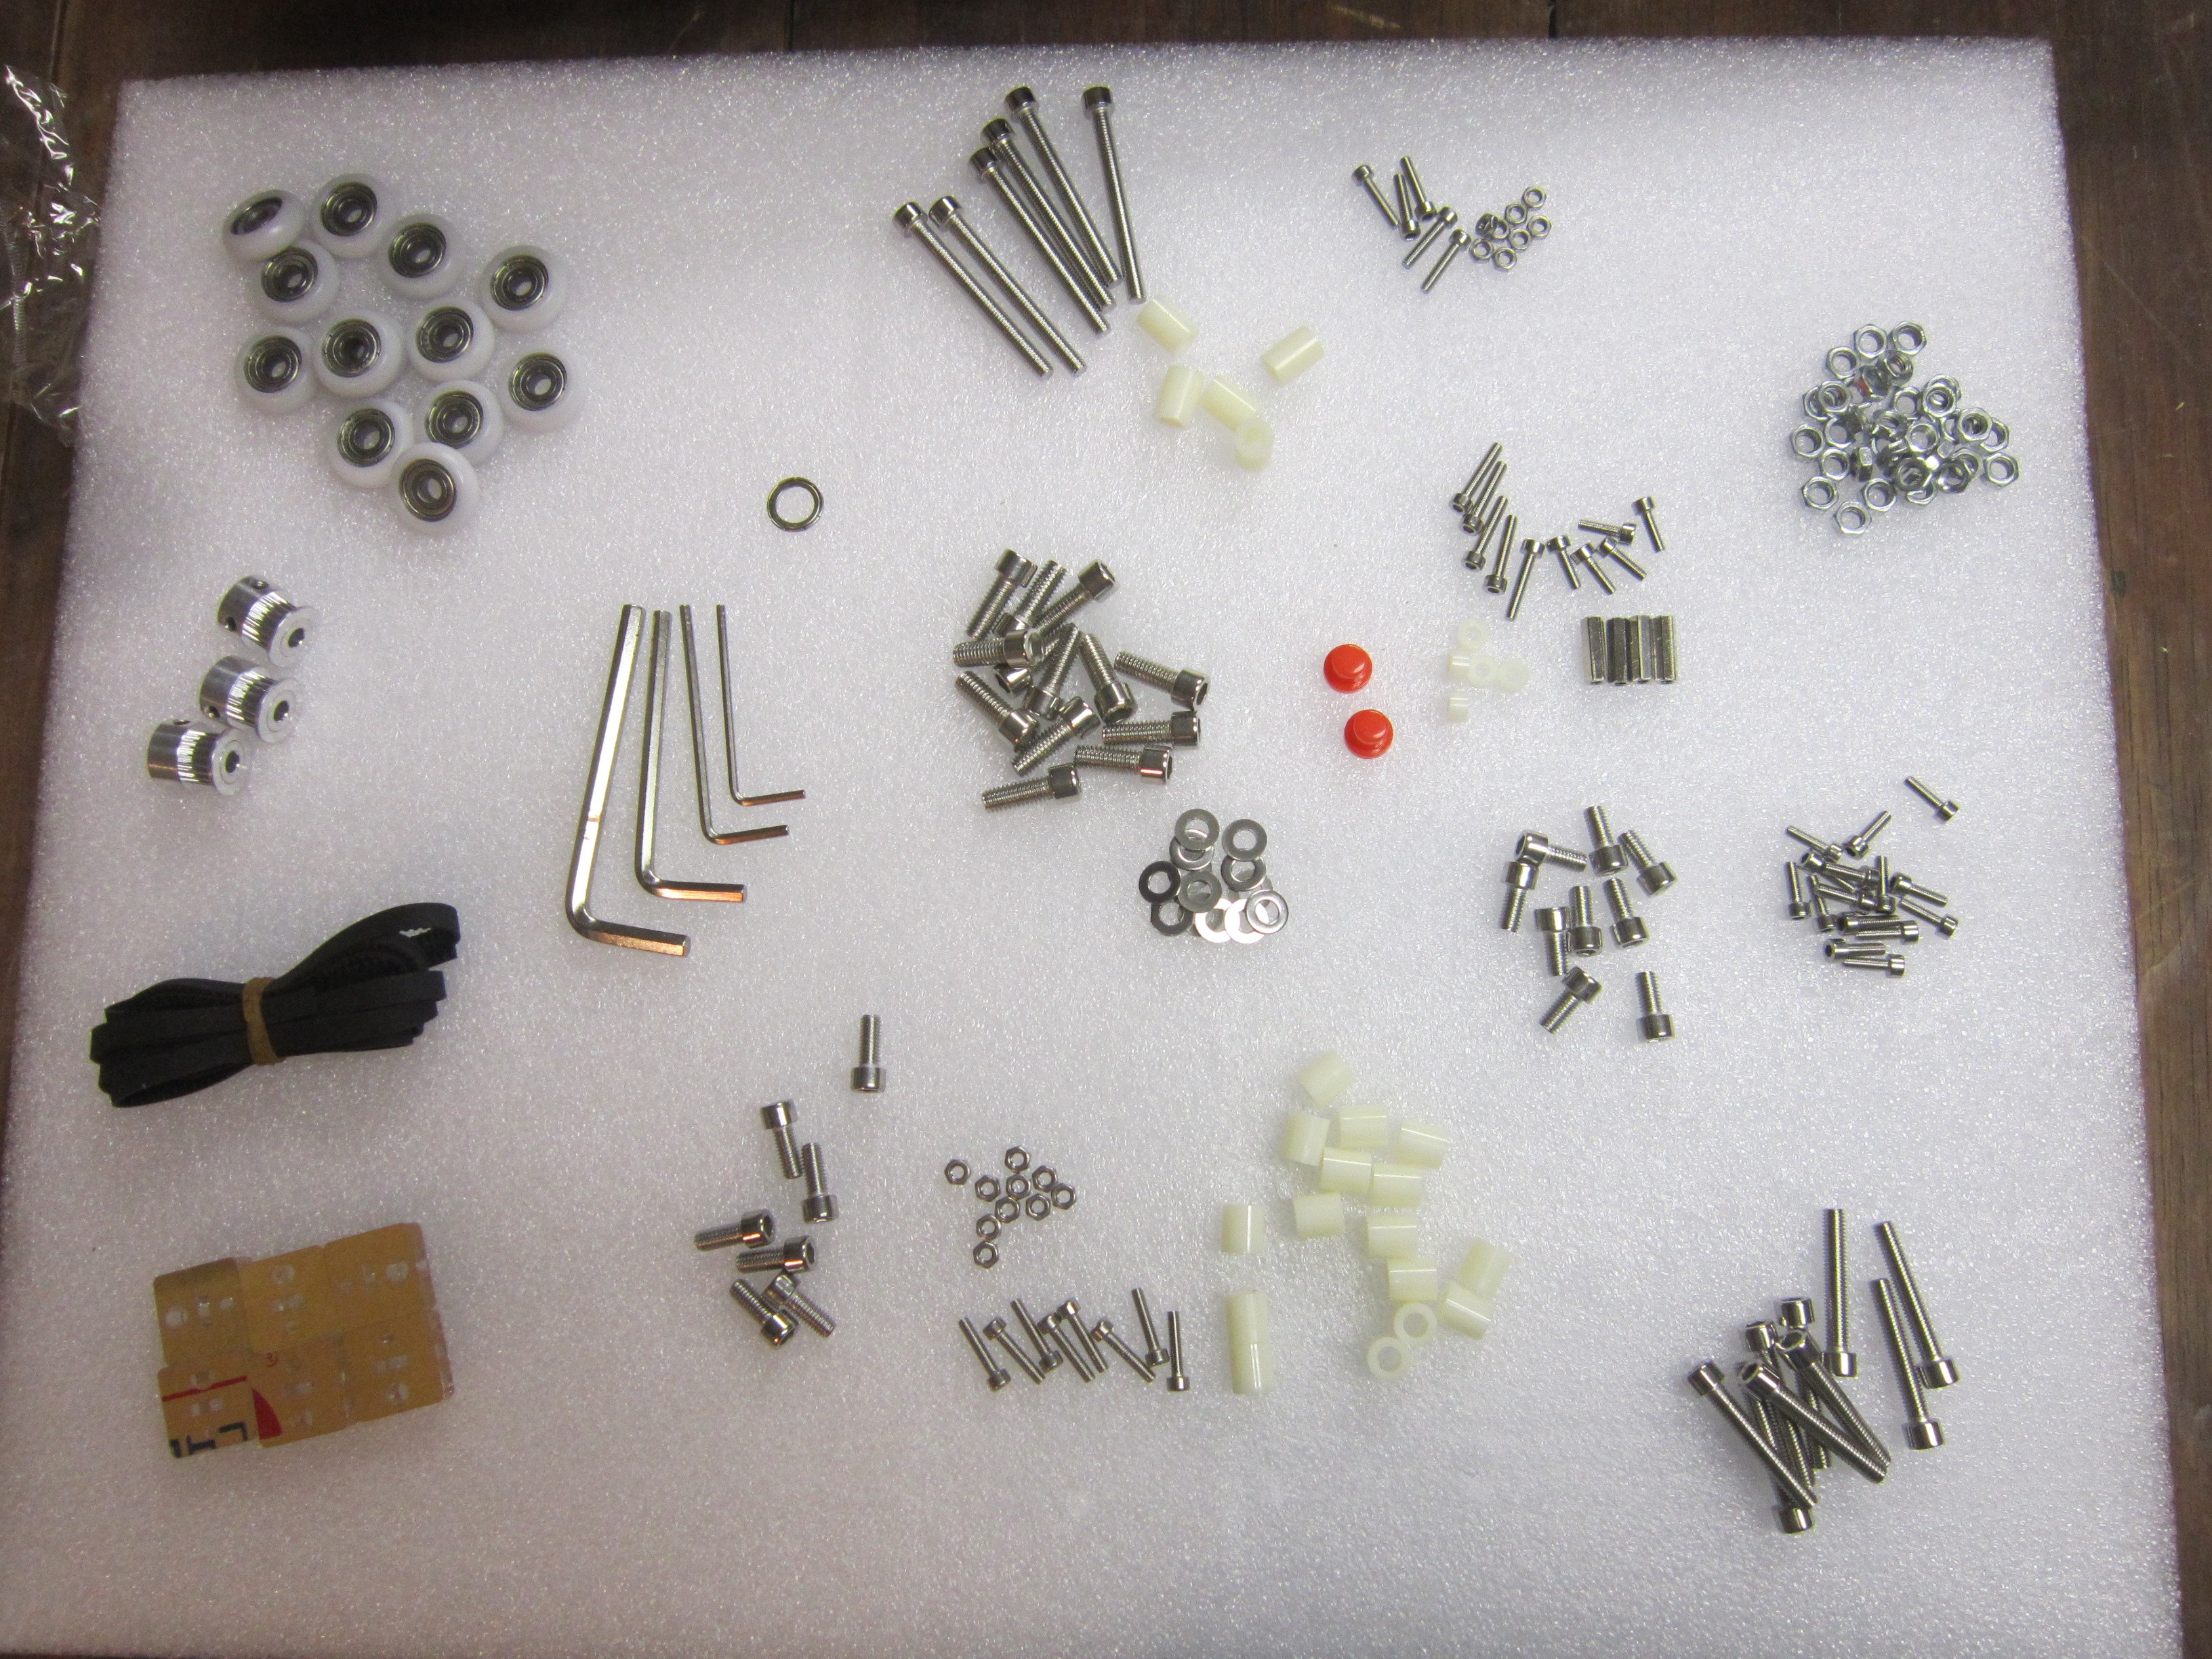
Quite an array of small parts
The unit is not a terribly complex piece of work to put together, but there is a pretty substantial range of sizes of many of the pieces such as nuts and bolts, washers and bushings. Careful identification and sorting of the parts is critical to getting things off to a good start. The packing list does not identify the number or sizes of these smaller parts – just “box of small parts“. There are extras of almost everything so there is little risk you don’t have enough of the #10 1/2 bolt, 5mm bushings, or track wheels. I had 2-3 minimum extra of all the small parts.

Stepper motors
After the first (false) start the structural build went pretty well – this was largely mechanics and for the most part I thought that I got things pretty much where they belonged. The trickier bits were around some of the motorized parts and the tracks that work with them to move the laser around to the right place. Three stepper motors control the X and Y movement of the unit: two for the Y axis (forward and back along the main track); and one on the gantry for the X axis (left and right). The motors mount pretty easily, but setting up the little gears that attach to the shafts and getting belt tension right required lots of fine tuning. The other issues was that even after adjusting the gears on the motors, it became obvious that there was an unseen logic to the three different sized bushings and so I had to tear it down again and rebuild all the main drive paths.
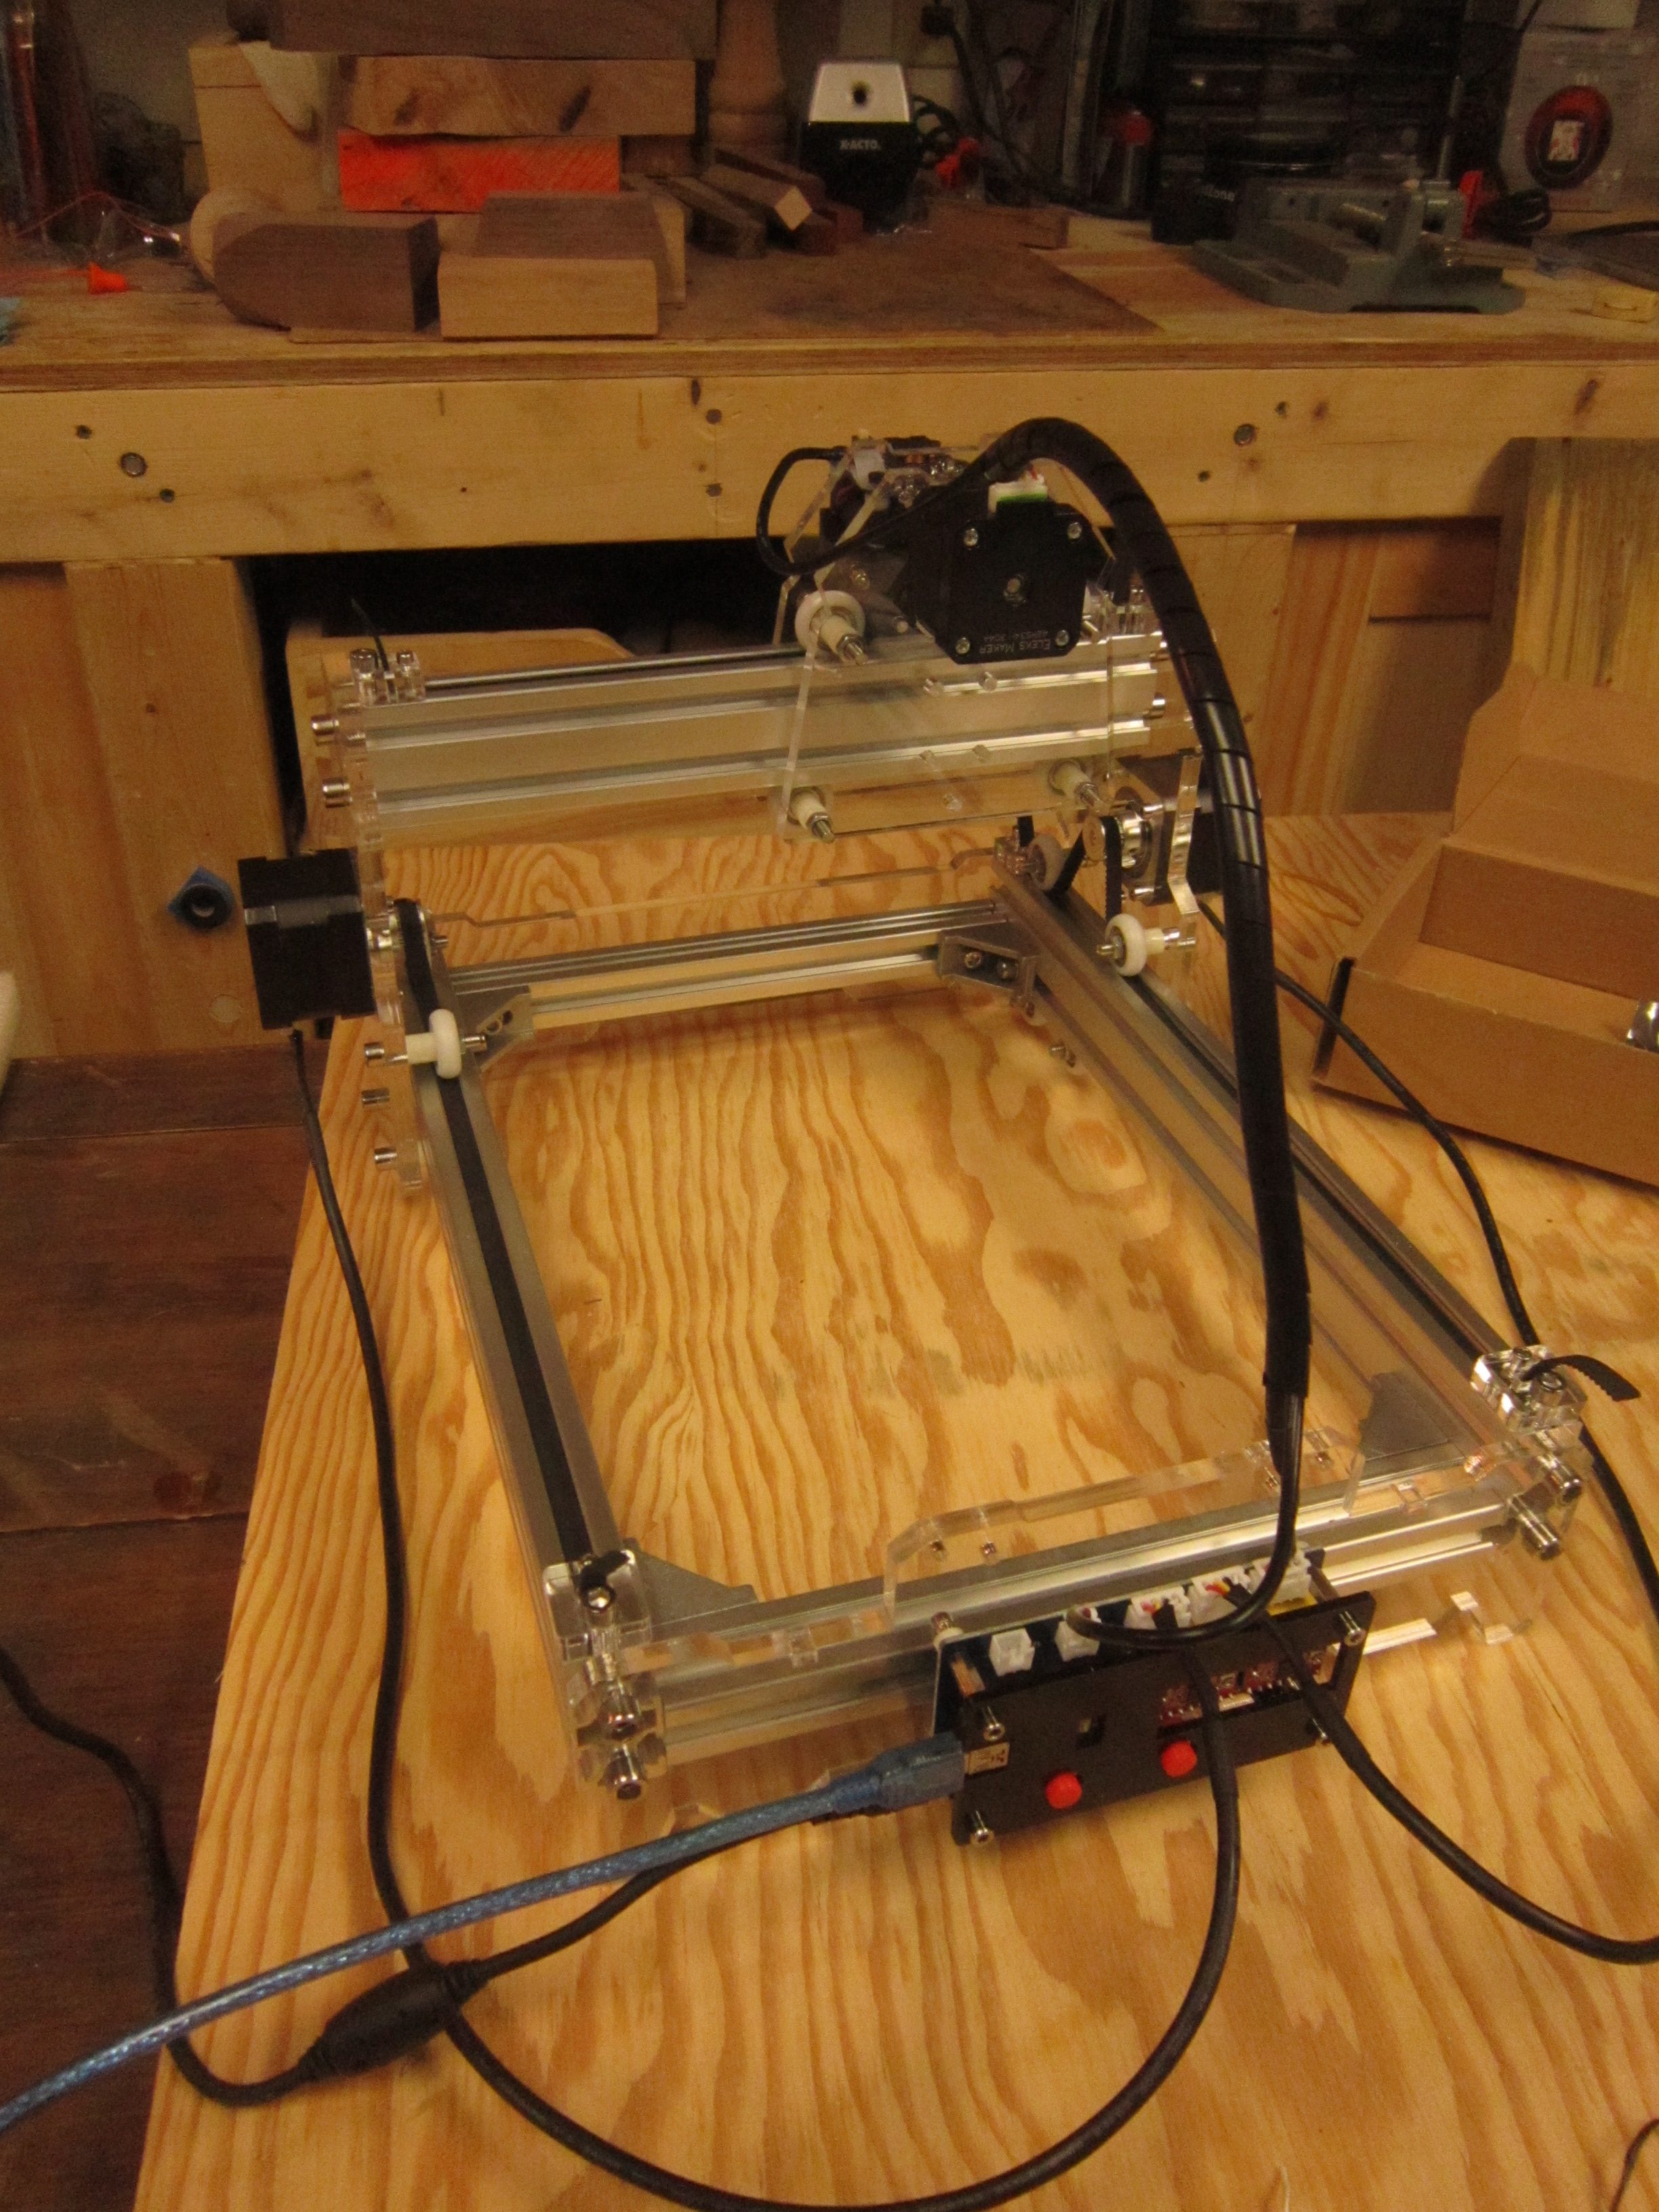
Assembly complete
Once the basic structure and the motorized units were in place and properly lined up, the next – and, for me, most foreign – task was the installation of the electronics. The images shown here shows how the laser and mechatronics connect to an Arduino board which controls both the motor movements and the firing of the laser. The laser connects to a dedicated circuit as do the three motors. A power connection and a USB port on the Arduino board complete the electronics controls setup shown and then a cable-tex spiral wrap is used to bind the upper (X) motor cable and the laser cable to keep them out of the way while working.
Software: The software referenced by the vendor is the Benbox Laser open source software which is, unfortunately, pretty darned bad. I installed it on an older laptop we had lying about which met the minimum requirements. Having designed software for the past 30 years this is a realm I do understand. Benbox is about as bad as it gets in terms of UI/UX (User Interface, User Experience for you non-techies). But it gets the basic job done as long as you follow video and tech blogs pretty closely. What is pretty good is the fact that the application does address a lot of potential configurations through the Arduino controller – in fact likely more than the current Arduino can actually manage. You have to recognize that there are only about half the possible settings shown that actually do anything, but those are important. I have downloaded another software – called T2 Laser, but it requires me to reset some of the control board and so I’ll hold off on that for just a little while.
Testing: Finally, it was time to fire it up and see what I could produce/ burn. I was pleasantly surprised that once I got the system to recognize the unit, it actually went very well in terms of getting the laser to move and fire. But getting it to move an fire to produce a decent image was a little more difficult.

First impressions
As the image shows, the first few attempts didn’t look very nice although it was great to see all three motors responding to commands and moving and firing in a way that suggested that the unit was set up pretty close to right. It took both physical tinkering as well as software configuration amendments to get the unit burning somewhat close to expected results…but it did move, burn and accept commands, so I knew I was on my way.
Takeaways and Lessons Learned: Well we’ve still got lots of work to do, but I am gaining more knowledge every time I fire this up, tweak some settings, and run another test. Once again, documenting each of those tweaks is critical to getting where you need to go without total frustration. A friend of mine who is an engineer and a tech geek extraordinaire tells me that Arduino is an inferior technology to something like Raspberry Pi so that may be a future pathway of exploration. This is a learning journey and you have to be ready to put the time into yourself – to learn and to understand how this very cool technology works, what is mechanical versus what is software based, how to improve results, developing learning networks and so on. It is really useful to have a good base of technical skills – mechanical, electronic, system/network/software troubleshooting, and programming – although you don’t need a great deal of depth…breadth is a lot more important. And, like so much in life, you also need patience, maybe even more than the technical skill set.
Next Steps: Lots left to do. I discovered that two of the wheels are not functioning as cleanly as they should and there was only one extra wheel so I am working the system with a wheel that is not optimal (Gearbest is sending me 5 extra wheels after I sent them a helpdesk ticket). I am going to give the T2 Laser software a try very soon. Configuration testing will likely run at least a couple more weeks before I will be able to identify the optimal setting in each medium and for different kinds of images.
Meanwhile, I’m still having fun exploring and experimenting with this little toy. Stand by for further updates in the future.
Recent Comments