In the last post in this series on jigs, I described my favorite jig – the screw advance box joint jig based on Mathias Wandel’s woodgears.ca plan – my favorite to use, but not the one I use most often. Most woodworkers would agree that THE fundamental jig for the table saw is the crosscut sled. There are many versions and sizes of cross-cut sleds and many woodworkers have several sleds for differing purposes.
Problem/Issue: While table saws usually have a miter slot and miter gauge to support making cross cut cuts, they are often unstable, hard to set up accurately, and (without building a number of sacrificial fences) not particularly versatile. When working with small pieces, the distance from the miter gauge to the blade may make it impractical if not wholly unsafe to make a lot of consistent cuts.
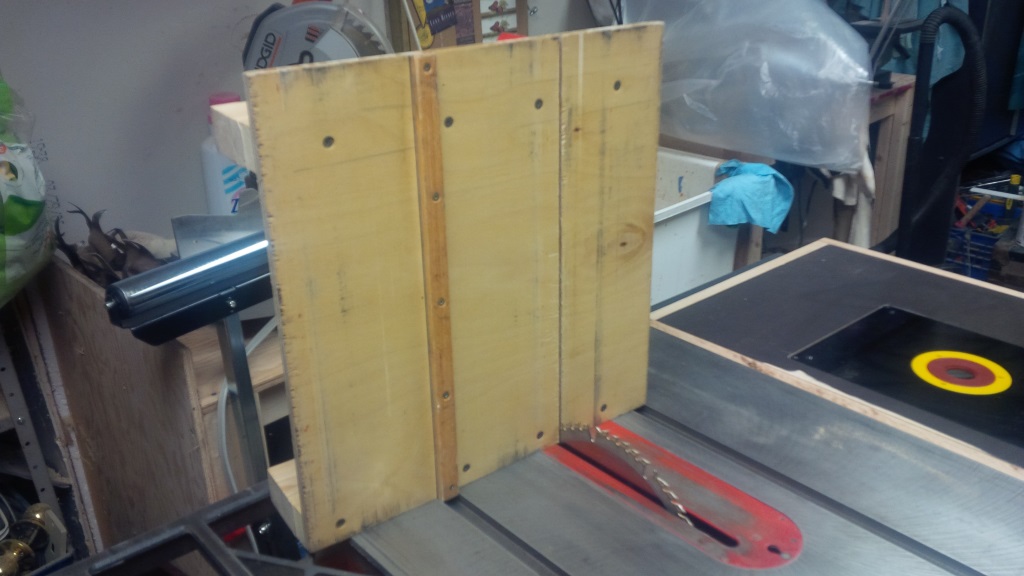
View of the base, showing the miter slider.
Solution: The one I am showing here is a relatively small sled; particularly useful for making toys, models, boxes, and so on that requires cutting fairly small, fine pieces. This sled consists of a base, two fences, and one slider under the base that runs in the miter slot of the table saw. The fences allow you to run the blade across the whole base without destroying the jig – in essence, they act as a bridge stepping over the blade to connect both side of the base after it has been split by the blade’s cutting slot. By lining up the material with the cutting slot or the end of the sled, you can get very accurate cuts that are supported by the miter, the base and the fence to provide great stability.
Design/Build: This design is very rudimentary, but still plenty strong, accurate, and versatile. The base for mine is made of 3/8” Baltic birch plywood which provides great stability and a nice smooth surface to slide across the table. The runner in the bottom is oak – although any dense hardwood can be used, or you can opt for an aluminum miter slider available from many woodwork equipment supply houses. If wooden, it needs to be a well-dried solid hardwood (and preferably ripped along the grain) to minimize the potential of the slider swelling with changes in humidity and possibly binding in the miter slot.
I used standard kiln-dried 2×4 lumber for the fences secured through the base with pan-head screws. Probably the most important aspect of building this for accuracy is to make sure that the main fence is as close to exactly perpendicular to the blade and miter slot. To do this, you start by attaching the slider and the far fence (or stiffener) to the base, then run a partial cut across the base. Then, you use that slot to get a perfect 90 degree for the main fence before making the full cut all the way through. The red area on the fence and the red triangular extension on that main fence is a warning to keep hands clear of this area where the blade may come through if you run the sled a little long.

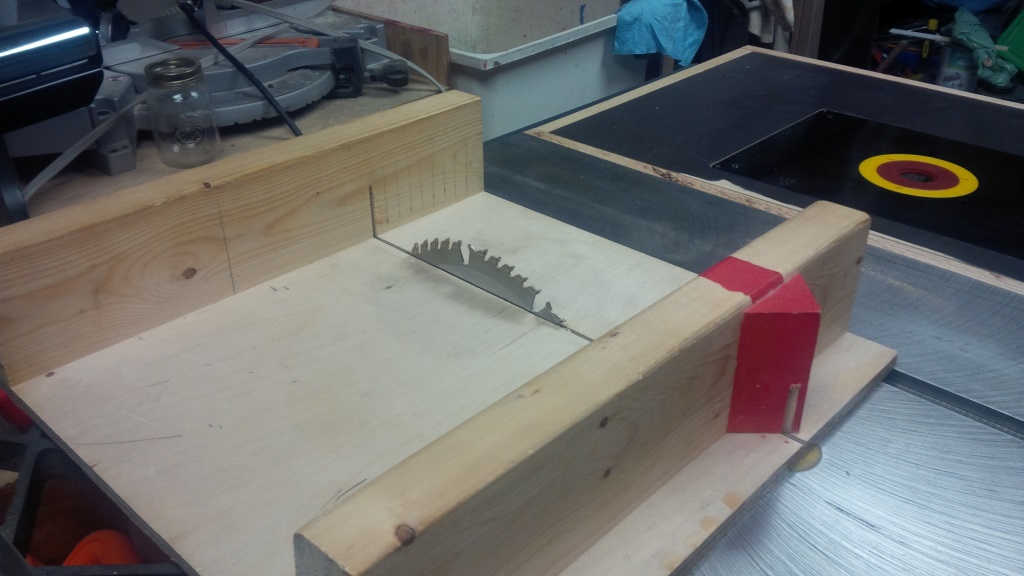
Slot and end cuts
Results: The placement of the slider allows me to cut across the slot or to flip the sled around and use the end of the sled to line up cross cuts depending on the project. I can use clamps to create stops for repeatable cuts, or just to hold several pieces of wood firmly when cutting for production. A graduated ruler along the inside of the fence allows me to accurately set up cuts. This is a workhorse in my shop – used in almost every project I do. It allows me to make very safe and accurate cuts, even when cutting small parts. Of all the jigs in my shop – this is the one I’d say I could not live without.
Next in this series: Joy of Jigs Part IV
Recent Comments